In order to Collab on Github, one user must create a repo, and then their partner(s) must then fork the main repo. The main repo is referred to as the upstream while the fork is the downstream.
When creating a fork locally, you should utilize git remote add origin
, and also create a reference to the upstream via **git remote upstream - When changes are made to the main repo, in order for the forked repo to be updated locally the git fetch upstream command is needed.
- From there, git pull –rebase upstream is also used to sync the changes locally from the upstream. Additionally, you can change upstream to origin if you want to sync with your remote repo.
- When changes are made to the forked repo, the owner of the forked repo must create a pull request to reflect the changes which are only merged to the main repo with the upstream owner’s permission.
This brings the topic of CI/CD to automate the process of reviewing/testing the code of the contributors that fork and potentially merging it.
CI/CD Explained
The most basic definition of CI/CD is having you code being automatically tested and then automatically deployed.
Continuous Integration: is a process that occurs when a certain specified action occurs such as creating a pull request. In this process the code is compiled, built (for various OS), and tested each time. If there’s an error or a test failed, the code can’t be merged.
- One common misunderstanding is that the tests are created automatically too. However, this isn’t the case. A developer has to manually create the tests which then ran when each person tries to merge code.
Continuous Delivery: is the process that occurs after the CI stage and the testing. In this the code is essentially ready to deploy on click manually.
- The benefit of this is that there is more control on what is essentially put to production. It also can allow for the code to be checked again manually.
- Continuous Deployment: is similar to delivery, but in this case the code is automatically deployed without intervention.
Benefits:
- Deploying to be faster
- Allows those who are working on the code to instantly know if the code is working or not via the tests and allow them to get to working on fixing it if there’s an error.
- It allows smaller bugs to be easily seen in the CI process and then be deployed automatically in the CD process.
GitHub Actions: You might be wondering how to set it up, however it is made pretty simple by GitHub actions in which you can use a template to start or create your own .yml file that sets up the actions that trigger the CI/CD process and what exactly to do.
To find out more on the usage and setup process checkout the section below.
Initial Setup CI/CD
In order to set up a CI/CD pipeline on Github, you must initialize it within the “Actions” tab in your repo.
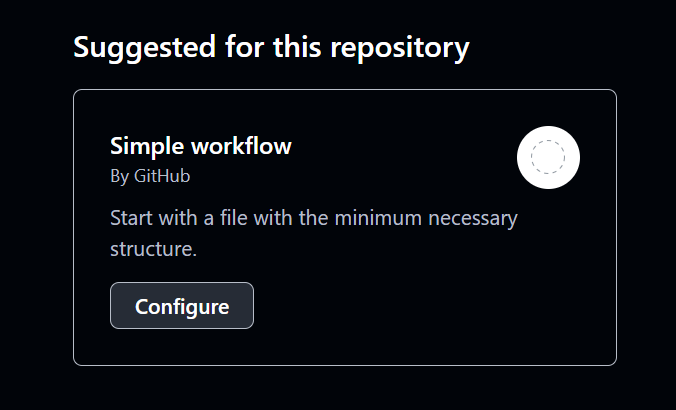
You will be met with this screen. From there, click “Configure”. Then, there will be a file with a basic workflow file template and a .yml extension.
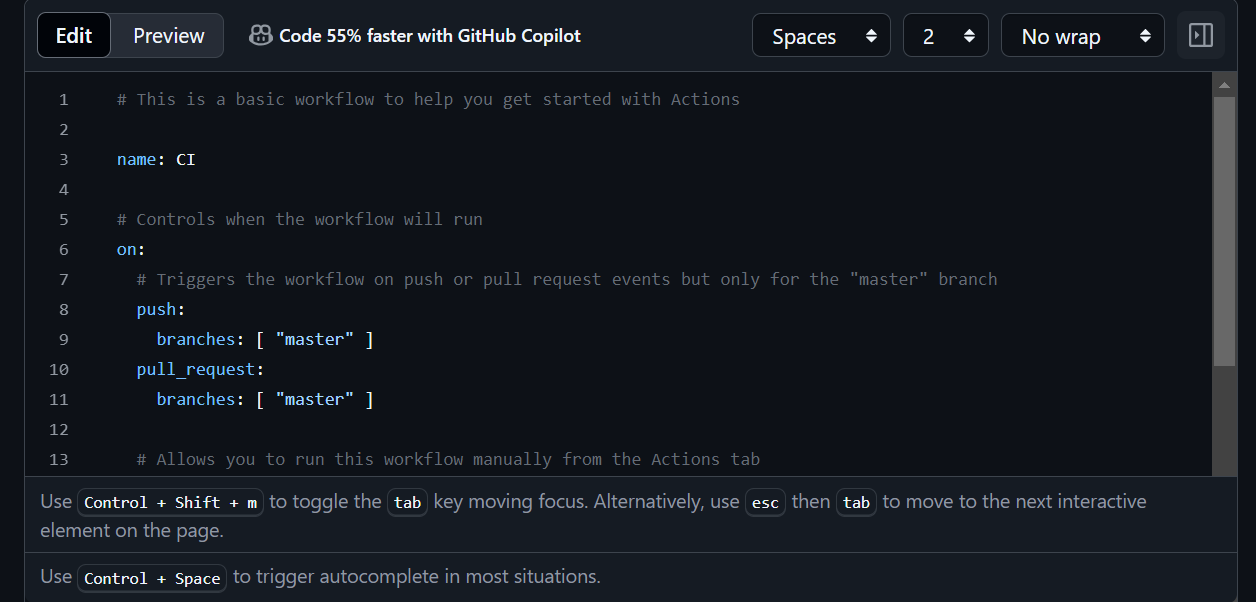
This is your workflow file, which is responsible for running your application continuously as you edit, make changes, and push those changes to Github. Your workflow file can also feature responsibilities such as logging into Docker, pushing images to Docker, running software tests, as well as installing dependencies.